Nx Platform Overview
User Management
Dashboards Overview
Data Risks
Dashboard Filters, Queries and Customization
Dark Data Classification
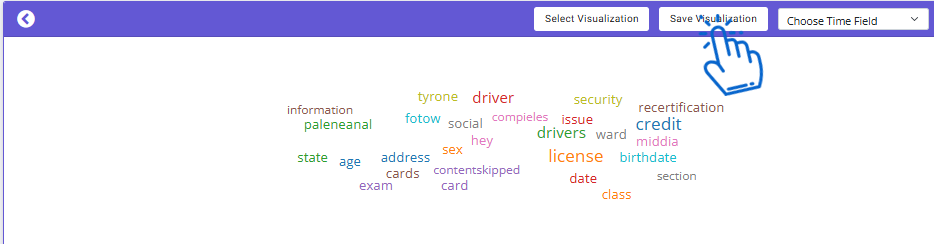
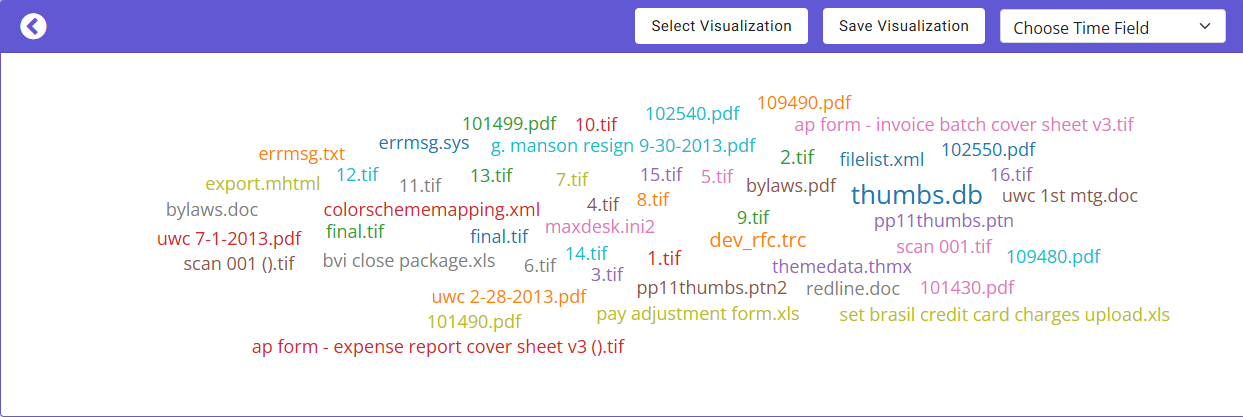
Visualization - Word Cloud
Creating a Word Cloud in the platform is a straightforward process. Follow these steps to visualize your data effectively:
1. There are two ways to create this visualization:
a. Go to Data Catalog Dashboard, click on Add Visualization button below query search
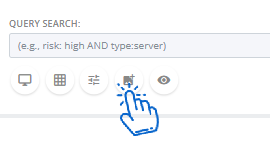
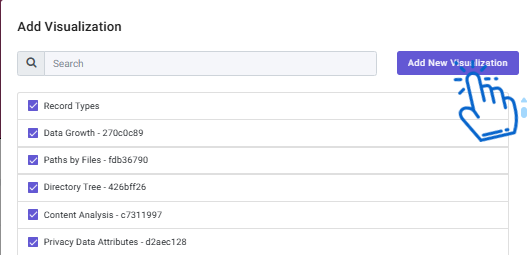
Click on Add New Visualization
b. Go to Dashboard Management and select Data Explorer

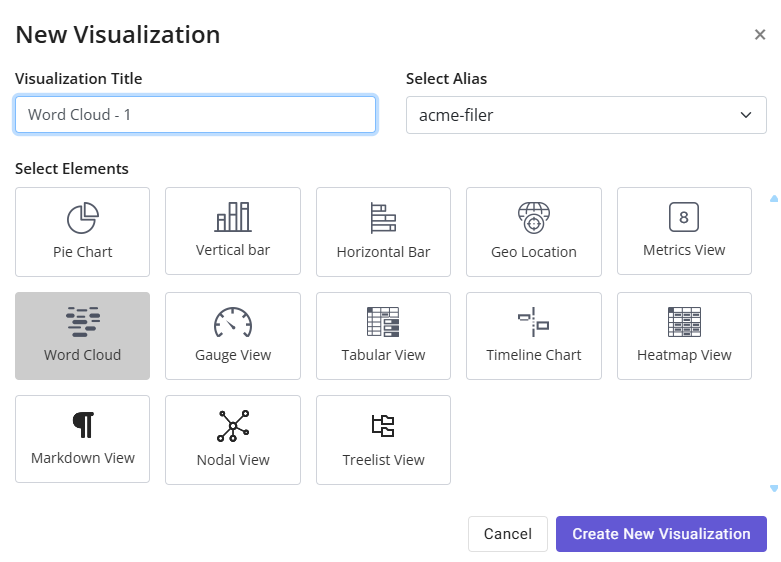
2. Add Visualization:
Enter a name for your visualization, choose the DataSource alias and select Word Cloud in Elements. Click on Create New Visualization.
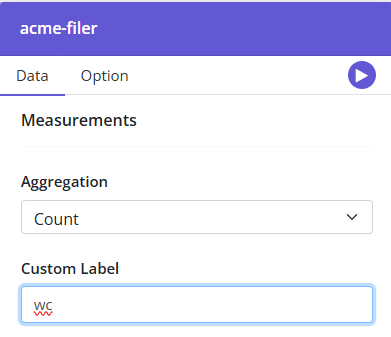
3. On the left pane, add a custom label for your visualization
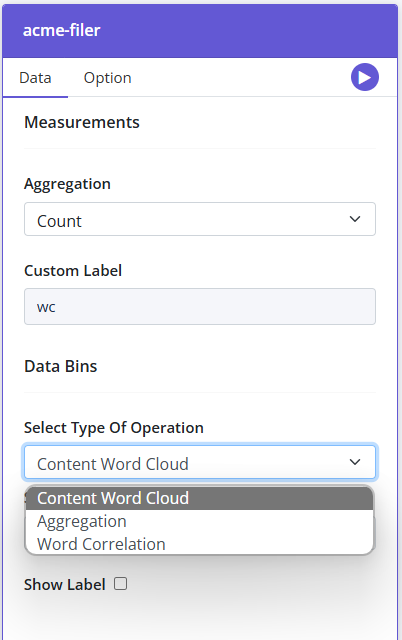
4. In the Data Bins section, under the Select Type of Operation dropdown, you will see the following options:
- Content Word Cloud: This option creates a word cloud using the frequency of words in the content.
- Aggregation: Use this to create a word cloud from any field, such as filename or privacy attributes.
- Word Correlation: This finds and highlights words in the content similar to the word you specify
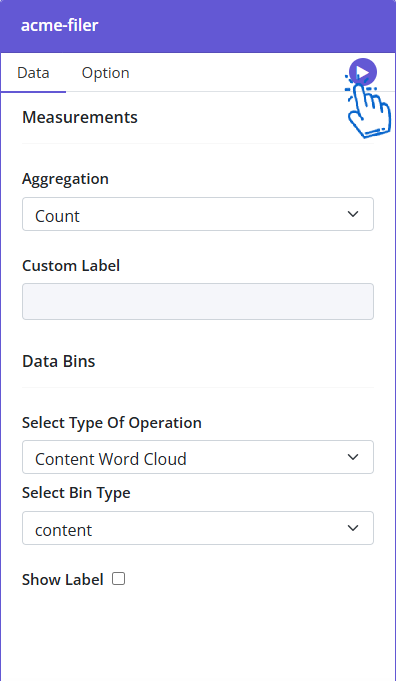
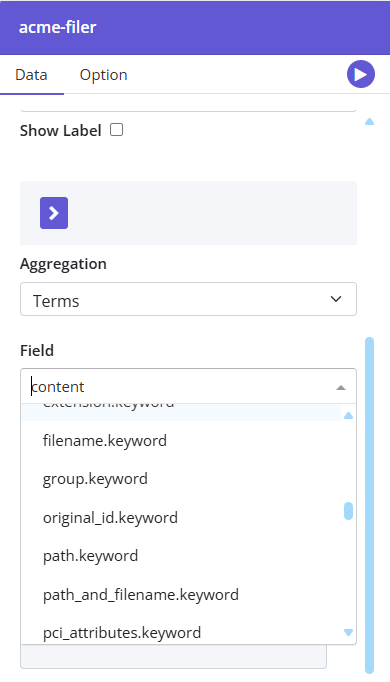
5. Content Word Cloud: If you select this option, select content in the dropdown Select Bin Type. Click on Play button to see the visualization
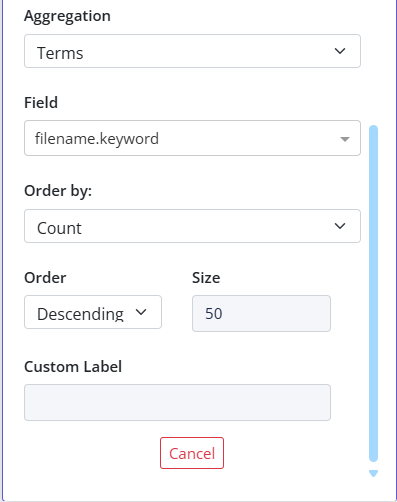
6. Aggregation: When you choose this option in Select Type of Operation dropdown, it will help you to create a word cloud using any field. Select the desired field, for example filename.keyword.
Enter the size (number of words you want to see in the cloud) and click the play button
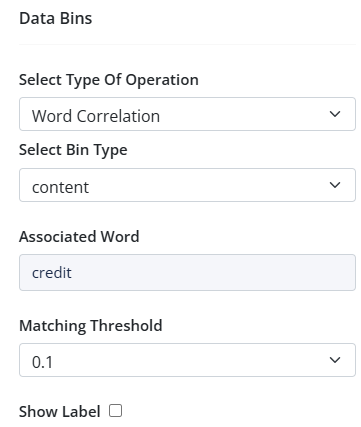
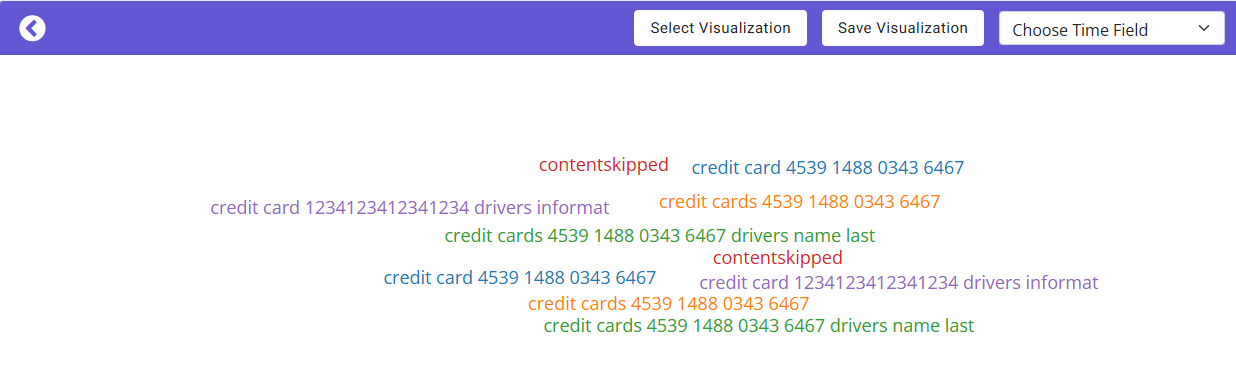
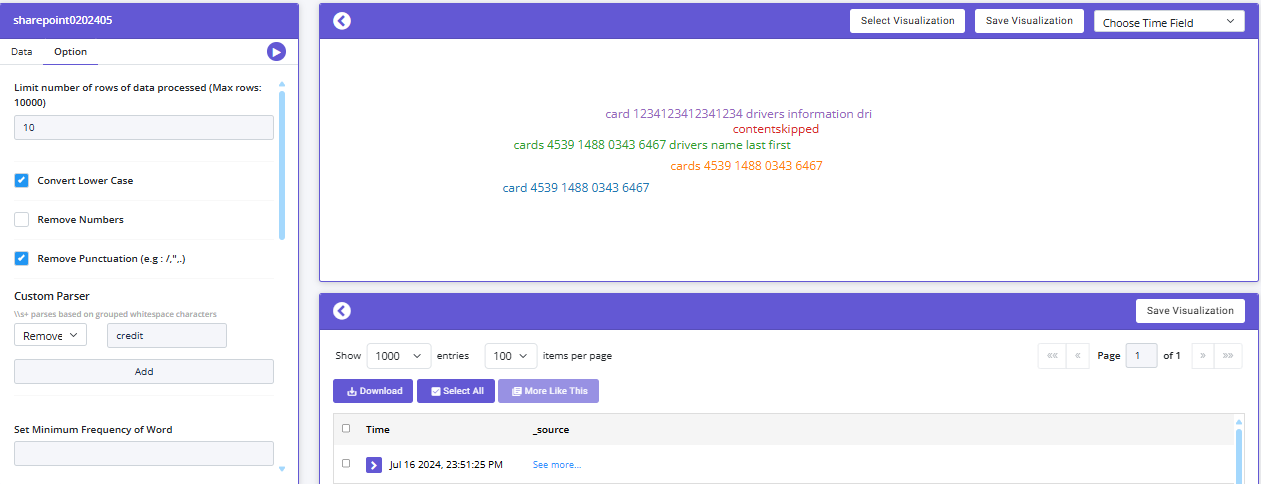
7. Word Correlation: Selecting this option help visualize the words that are correlated in your content. Enter the word you need to find correlated words for. For example, credit is added in the screenshot below. Next select the Matching Threshold and hit the play button.
8. You can further customize your visualization. Click on the Option menu
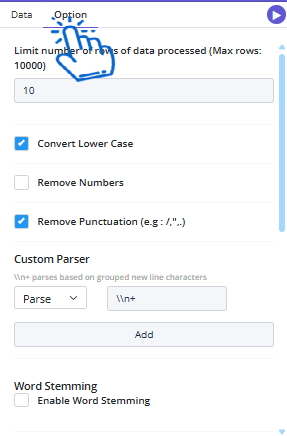
You can do different customizations like:
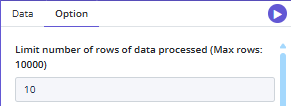
1. Limit number of rows of data processed: You can add number of rows to be processed. The number should be less than 10000
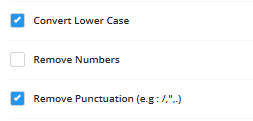
2. You can format your words to change to lower case, remove numbers and/or punctuation from the word cloud
3. You can further customize by
a. Adding custom parser: you can add different regex pattern to define parsing for example: When parsing text data, "\n+" is useful for identifying and handling blocks of text separated by one or more new lines. You can also use remove to remove particular words or pattern from the word cloud.
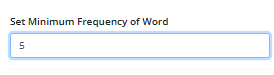
b. Set Minimum Frequency of Word: option allows you to specify the least number of times a word must appear in your dataset to be included in the word cloud
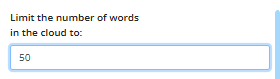
c. Limit the number of words in the cloud to: you can add the number of words you want to see in your cloud
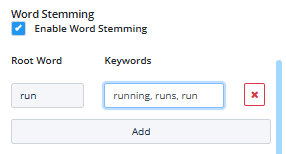
d. Enabling word stemming: you can add a root word and keywords- different form of the root word. For examples root can be run and runs, running are the keywords. Only the root words will be shown in the word cloud
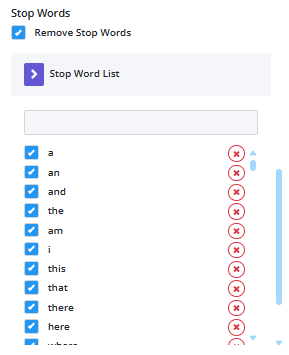
e. Stop words: you can also add a list of stop words that won't be considered to create the word cloud
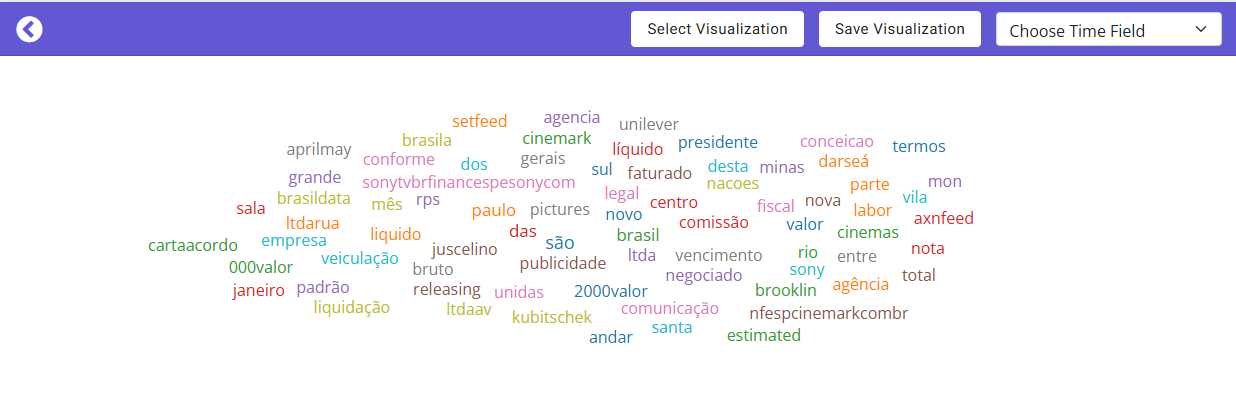
9. Click on Save Visualization to Save the created Word Cloud visual