Nx Platform Overview
User Management
Dashboards Overview
Data Risks
Dashboard Filters, Queries and Customization
Dark Data Classification
User Correlation
To get user data like user groups, department, etc., a user correlation scan has to be performed. Follow the steps outlined below to complete this process:
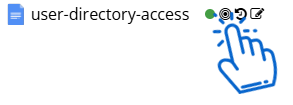
1. Ensure that you have completed a User Directory scan (Azure AD/LDAP) before proceeding:
- Ensure the user with the Data Guardian role is assigned user directory access
- Verify this assignment in the Resource Browser
- Click on the target button to run the scan
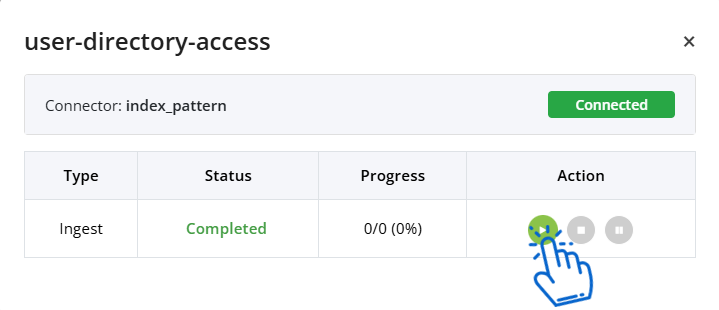
- Click on Play button, once the scan completes you will see the status "Completed"
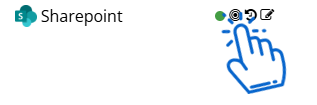
2. Locate the data source for which you intend to run the user correlation scan in the Resource Browser
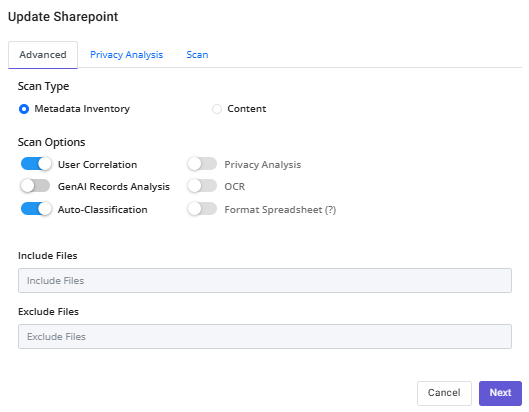
3. Click the edit button to modify the data source settings
4. Switch the toggle to enable user correlation and click Next and Update
5. Run the scan by clicking on Target icon
6. Once the scan is complete, you should be able to verify the user related information on Access Risk Dashboard