Nx Platform Overview
User Management
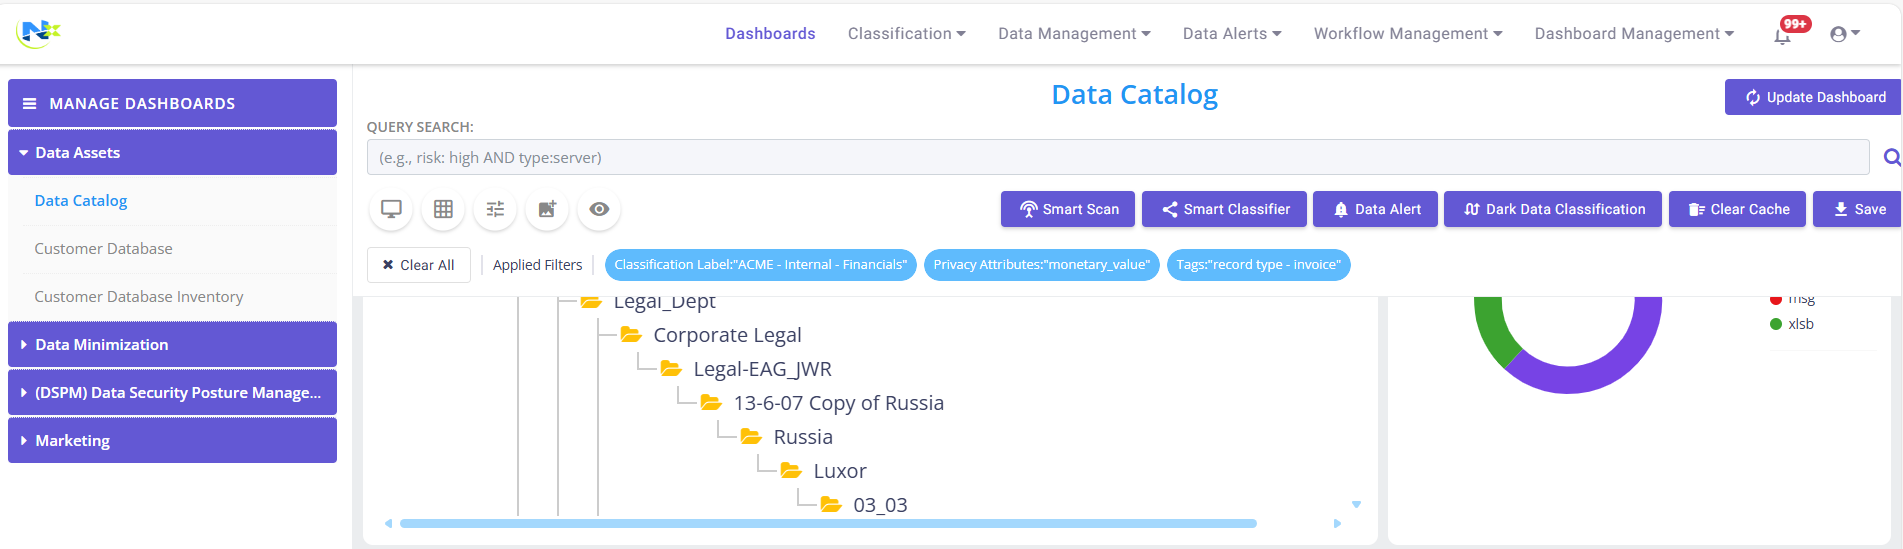
Dashboards Overview
Data Risks
Dashboard Filters, Queries and Customization
Dark Data Classification
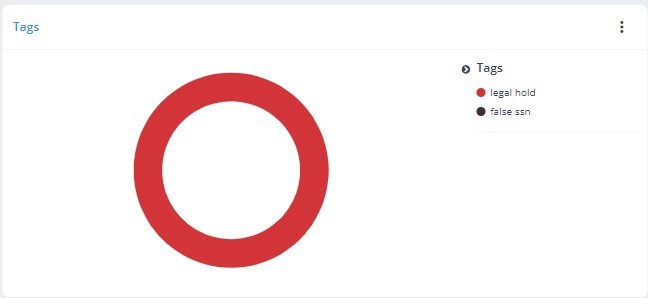
Tags
Nx simplifies analysis process for you through customized tagging which can help locate/segregate specific data by applying labels. Perform the steps below to apply a tag:
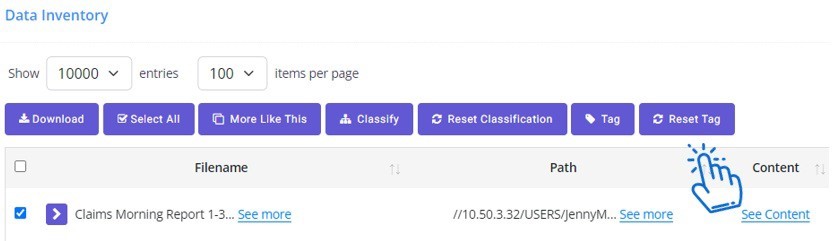
1. From the Data Catalog Dashboard, apply queries and filters to generate the specific group of files for which tags need to be applied. Refer to Dashboard Filters and Queries section for details
2. Scroll down to the Data Inventory table and select files for which you would like to apply the tags and click on Tags
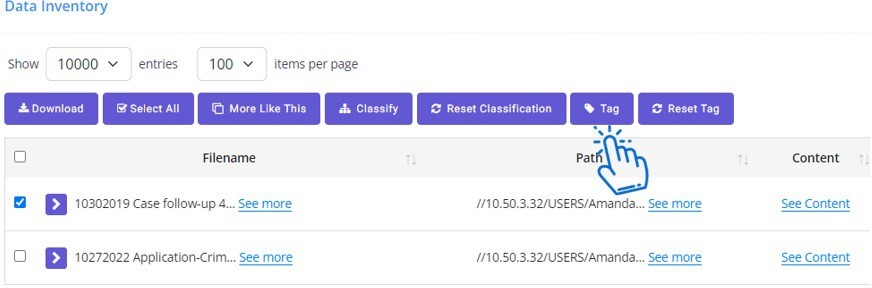
3. Click on Select Tag Field dropdown to select a pre-defined tag or create a custom tag
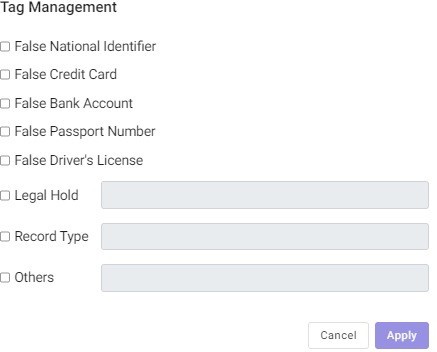
4. Once you have selected the tag, click on Apply to apply the tag. You will be able to review or query the tags through the dashboard Tag tile
To remove an existing tag for files, follow these steps:
1. Apply filters for the tags you want to reset
2. Click on Reset Tag Button
3. Select Tags to Reset:
- A popup will appear showing all the tags you filtered for
- To reset all tags, select the checkbox for Reset All
- To reset specific tags, select the checkboxes next to the tags you want to reset
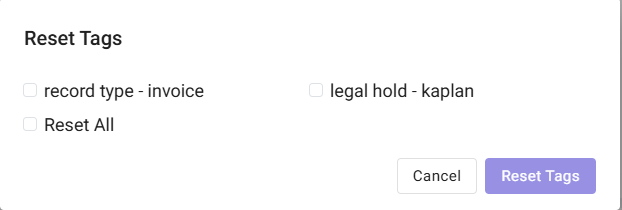
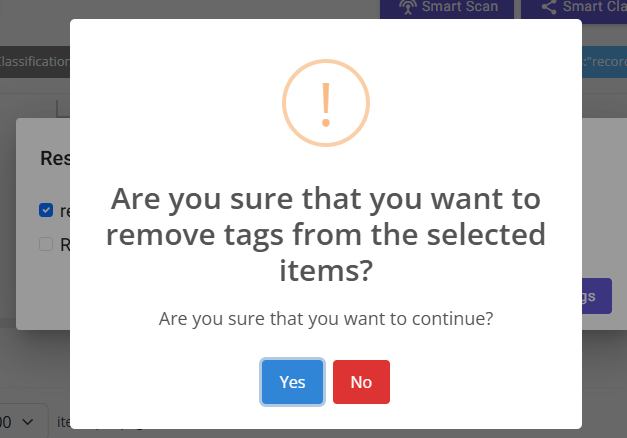
4. Reset Tags:
- Click on Reset Tags
- A confirmation popup will appear. Click on Yes to confirm and reset the tags
- This process allows you to efficiently manage and reset tags for your files based on your selected criteria